Spring Clean Method: Kitchens
As an Amazon Associate and member of other affiliate programs, I earn from qualifying purchases.
When Spring is close to arriving I always get a bit itchy to organize in my home. In anticipation of sunlight streaming into my kitchen I want to be able to look with pleasure and pride at everything that resides there. Maybe your kitchen is due for a big organizational overhaul (if you do I can help) or maybe like me you just need to scratch the itch and make your kitchen a hair more functional. The kitchen is the most-used room in almost every home and can always benefit from a Continuous Improvement mindset when it comes to organization. Here I’ve gathered some of my favorite quick organizing wins to apply in your kitchen. Work down the list and be ready when that Spring sunshine decides to show up in your kitchen.
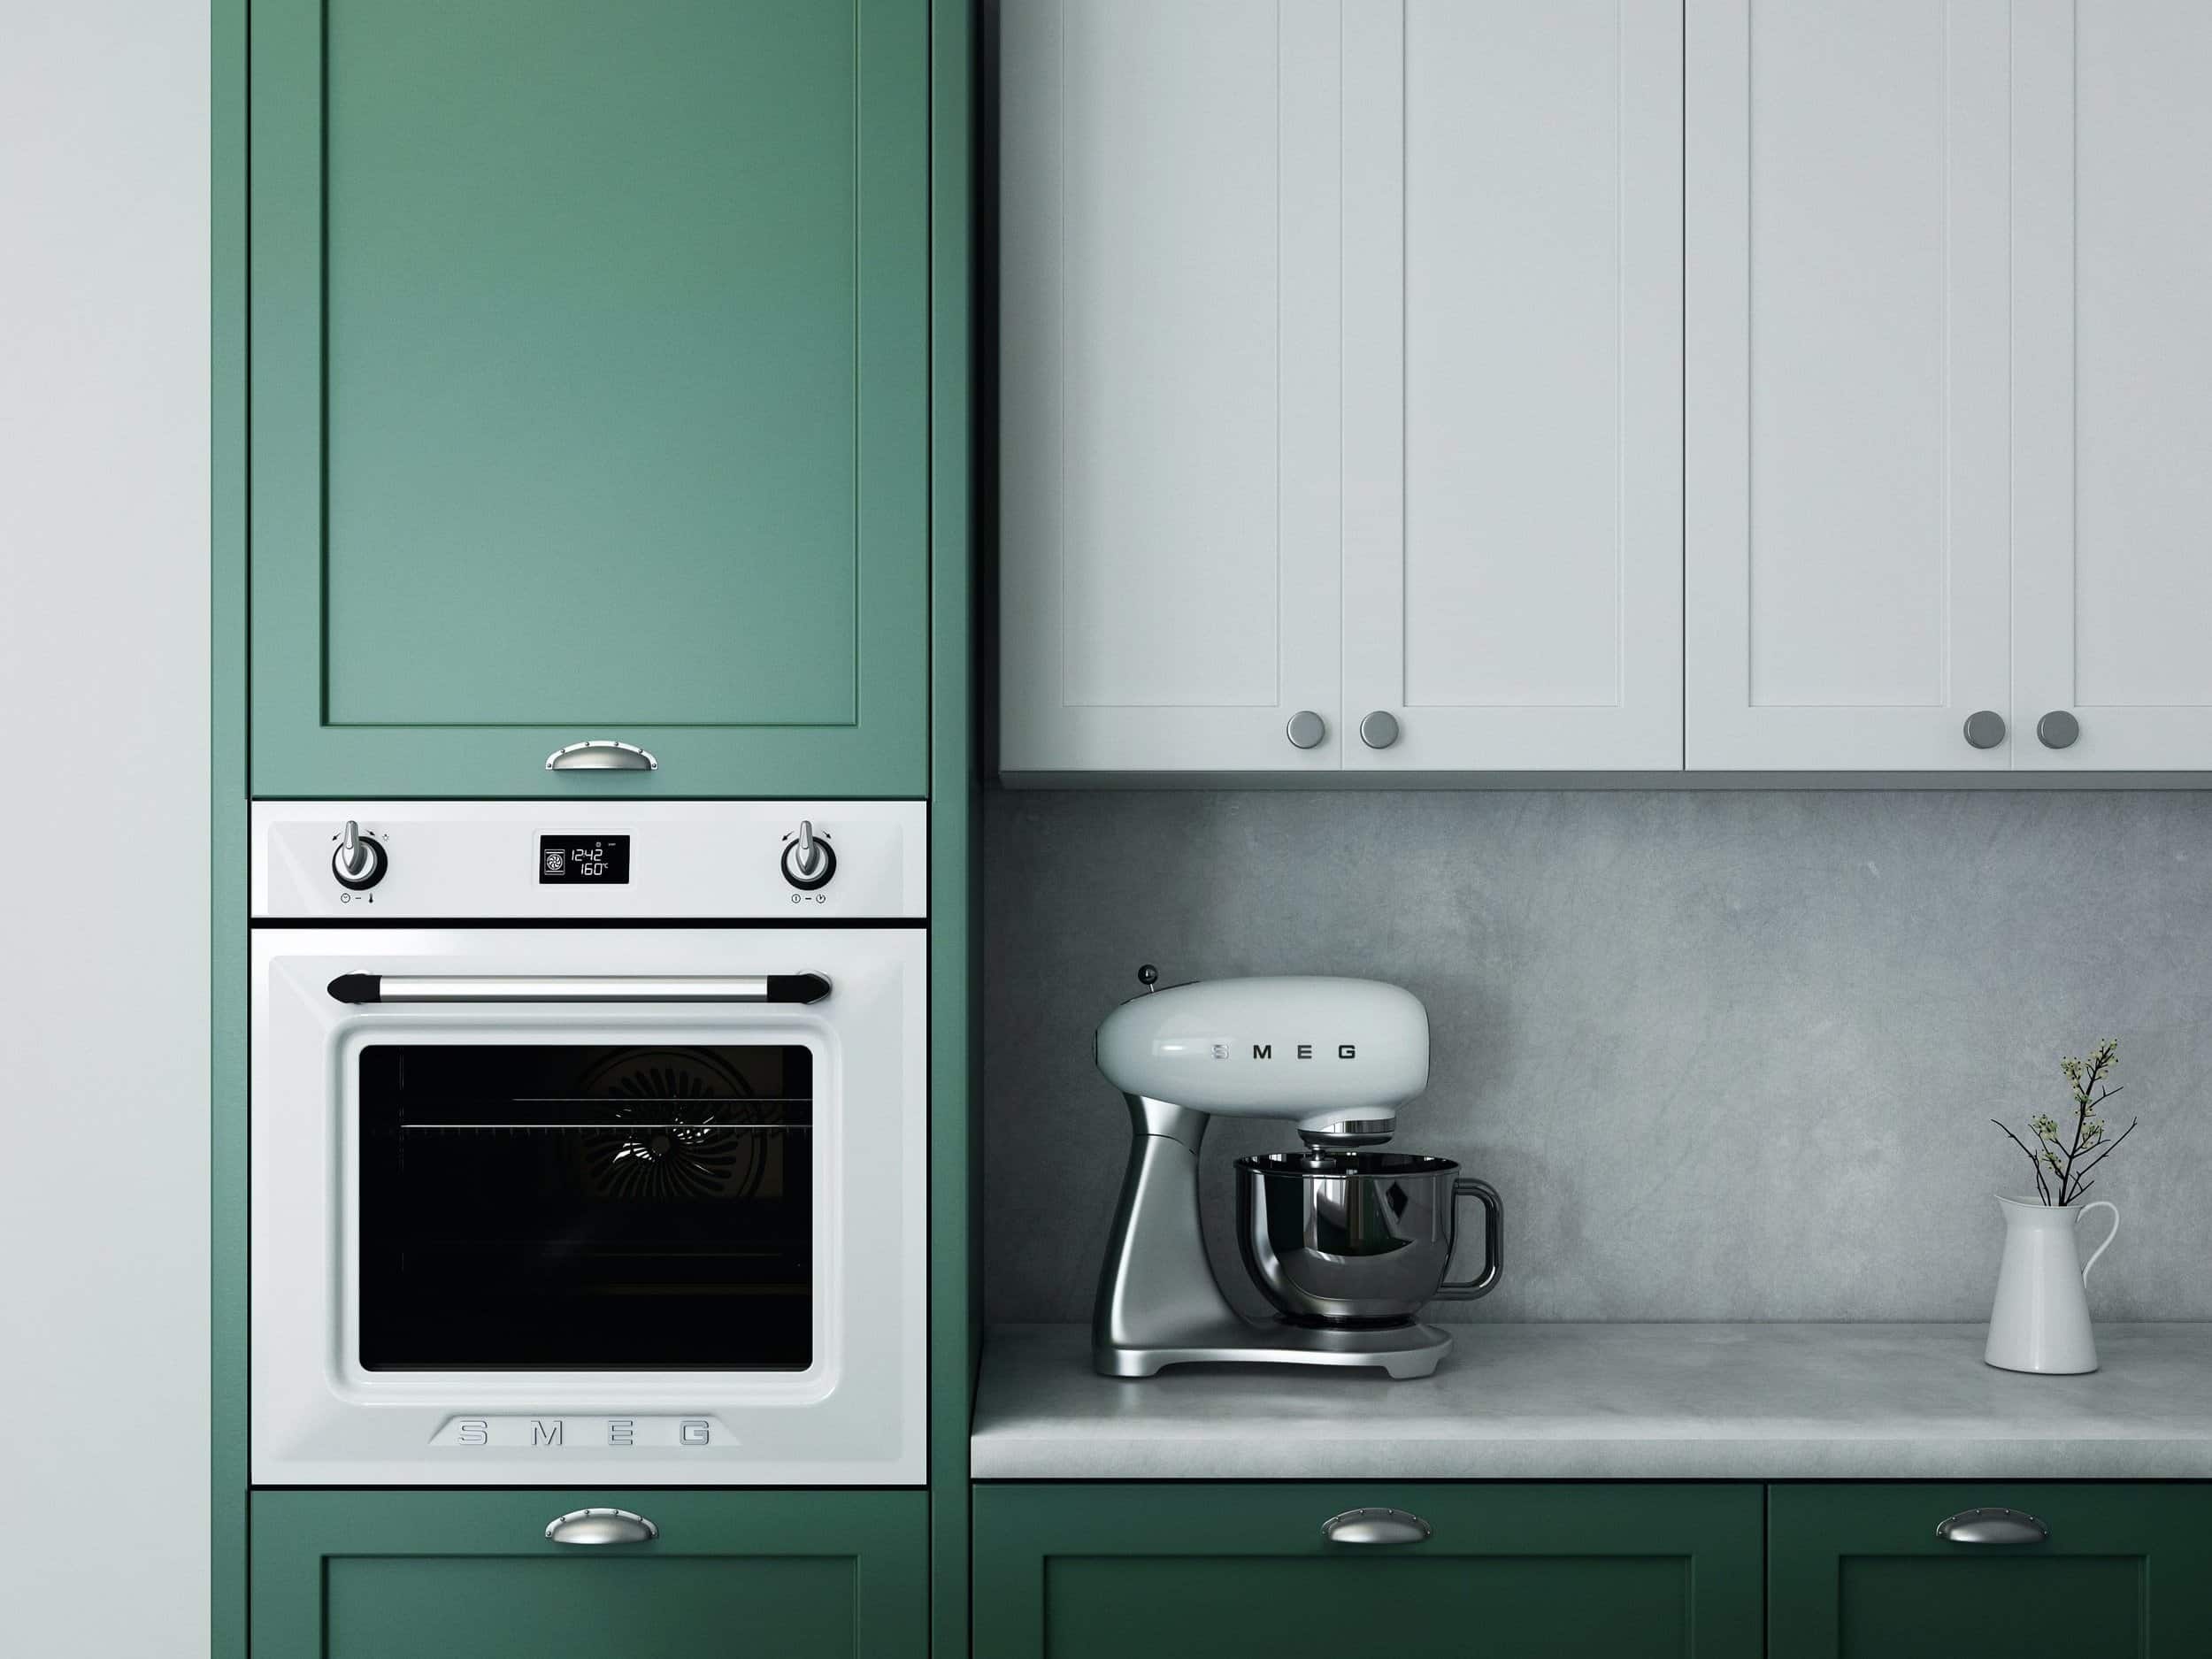
Anchor Small Appliances
Toaster ovens, stand mixers, air fryers, coffee makers, blenders, slow cookers, rice cookers and toasters; small appliances always present a challenge when organizing because they take up so much space. The counter is seemingly the best place to store them to keep them handy but they aren’t usually beautiful to look at and add to the visual clutter in the kitchen. So how do you decide the best place to store them?
The first thing to do is bring them all together and prioritize; they all take up space and space is at a premium no matter what size your kitchen is. First priority are the appliances that you use daily. In most cases toasters and coffee makers ground this category. These appliances should be the most accessible so you aren’t taking them out and putting them away on a daily basis. There some beautifully designed options that are also high performing; they add to the aesthetic in your kitchen in return for their high-profile space on the counter.
Next priority are frequent-use appliances. They are used often but not daily. They should occupy space near a countertop and an outlet, ideally in a lower cabinet with a pull-out drawer for easy access. If your cabinets don’t have pull-outs consider installing them (these are easy to install and nice to look at), they will make life easier and put less strain on your back. You will be more likely to make that nutritious smoothie or pop a slew of chicken nuggets in the air fryer if it is close at hand and light of effort to access.
Lowest priority are the occasional-use appliances (Slow-cooker? Instapot? Deep fryer?) that only come out once-in-a-while. These don’t even need to be kept in the kitchen if you are short on space; a utility room, pantry, closet or garage can service adequately. If you do have an abundance of space in your kitchen these items can go in a high cabinet, or one that is in a low-traffic area of the kitchen. It’s fine to put in a little extra effort to get something out and put it back if you are only doing it a few times a year.
Small appliances serve as anchors in kitchens and should be prioritized accordingly. Keep your standards of function and beauty high when selecting those that live on the countertops and house the rest according to how often you use them.
Unleash The Lids
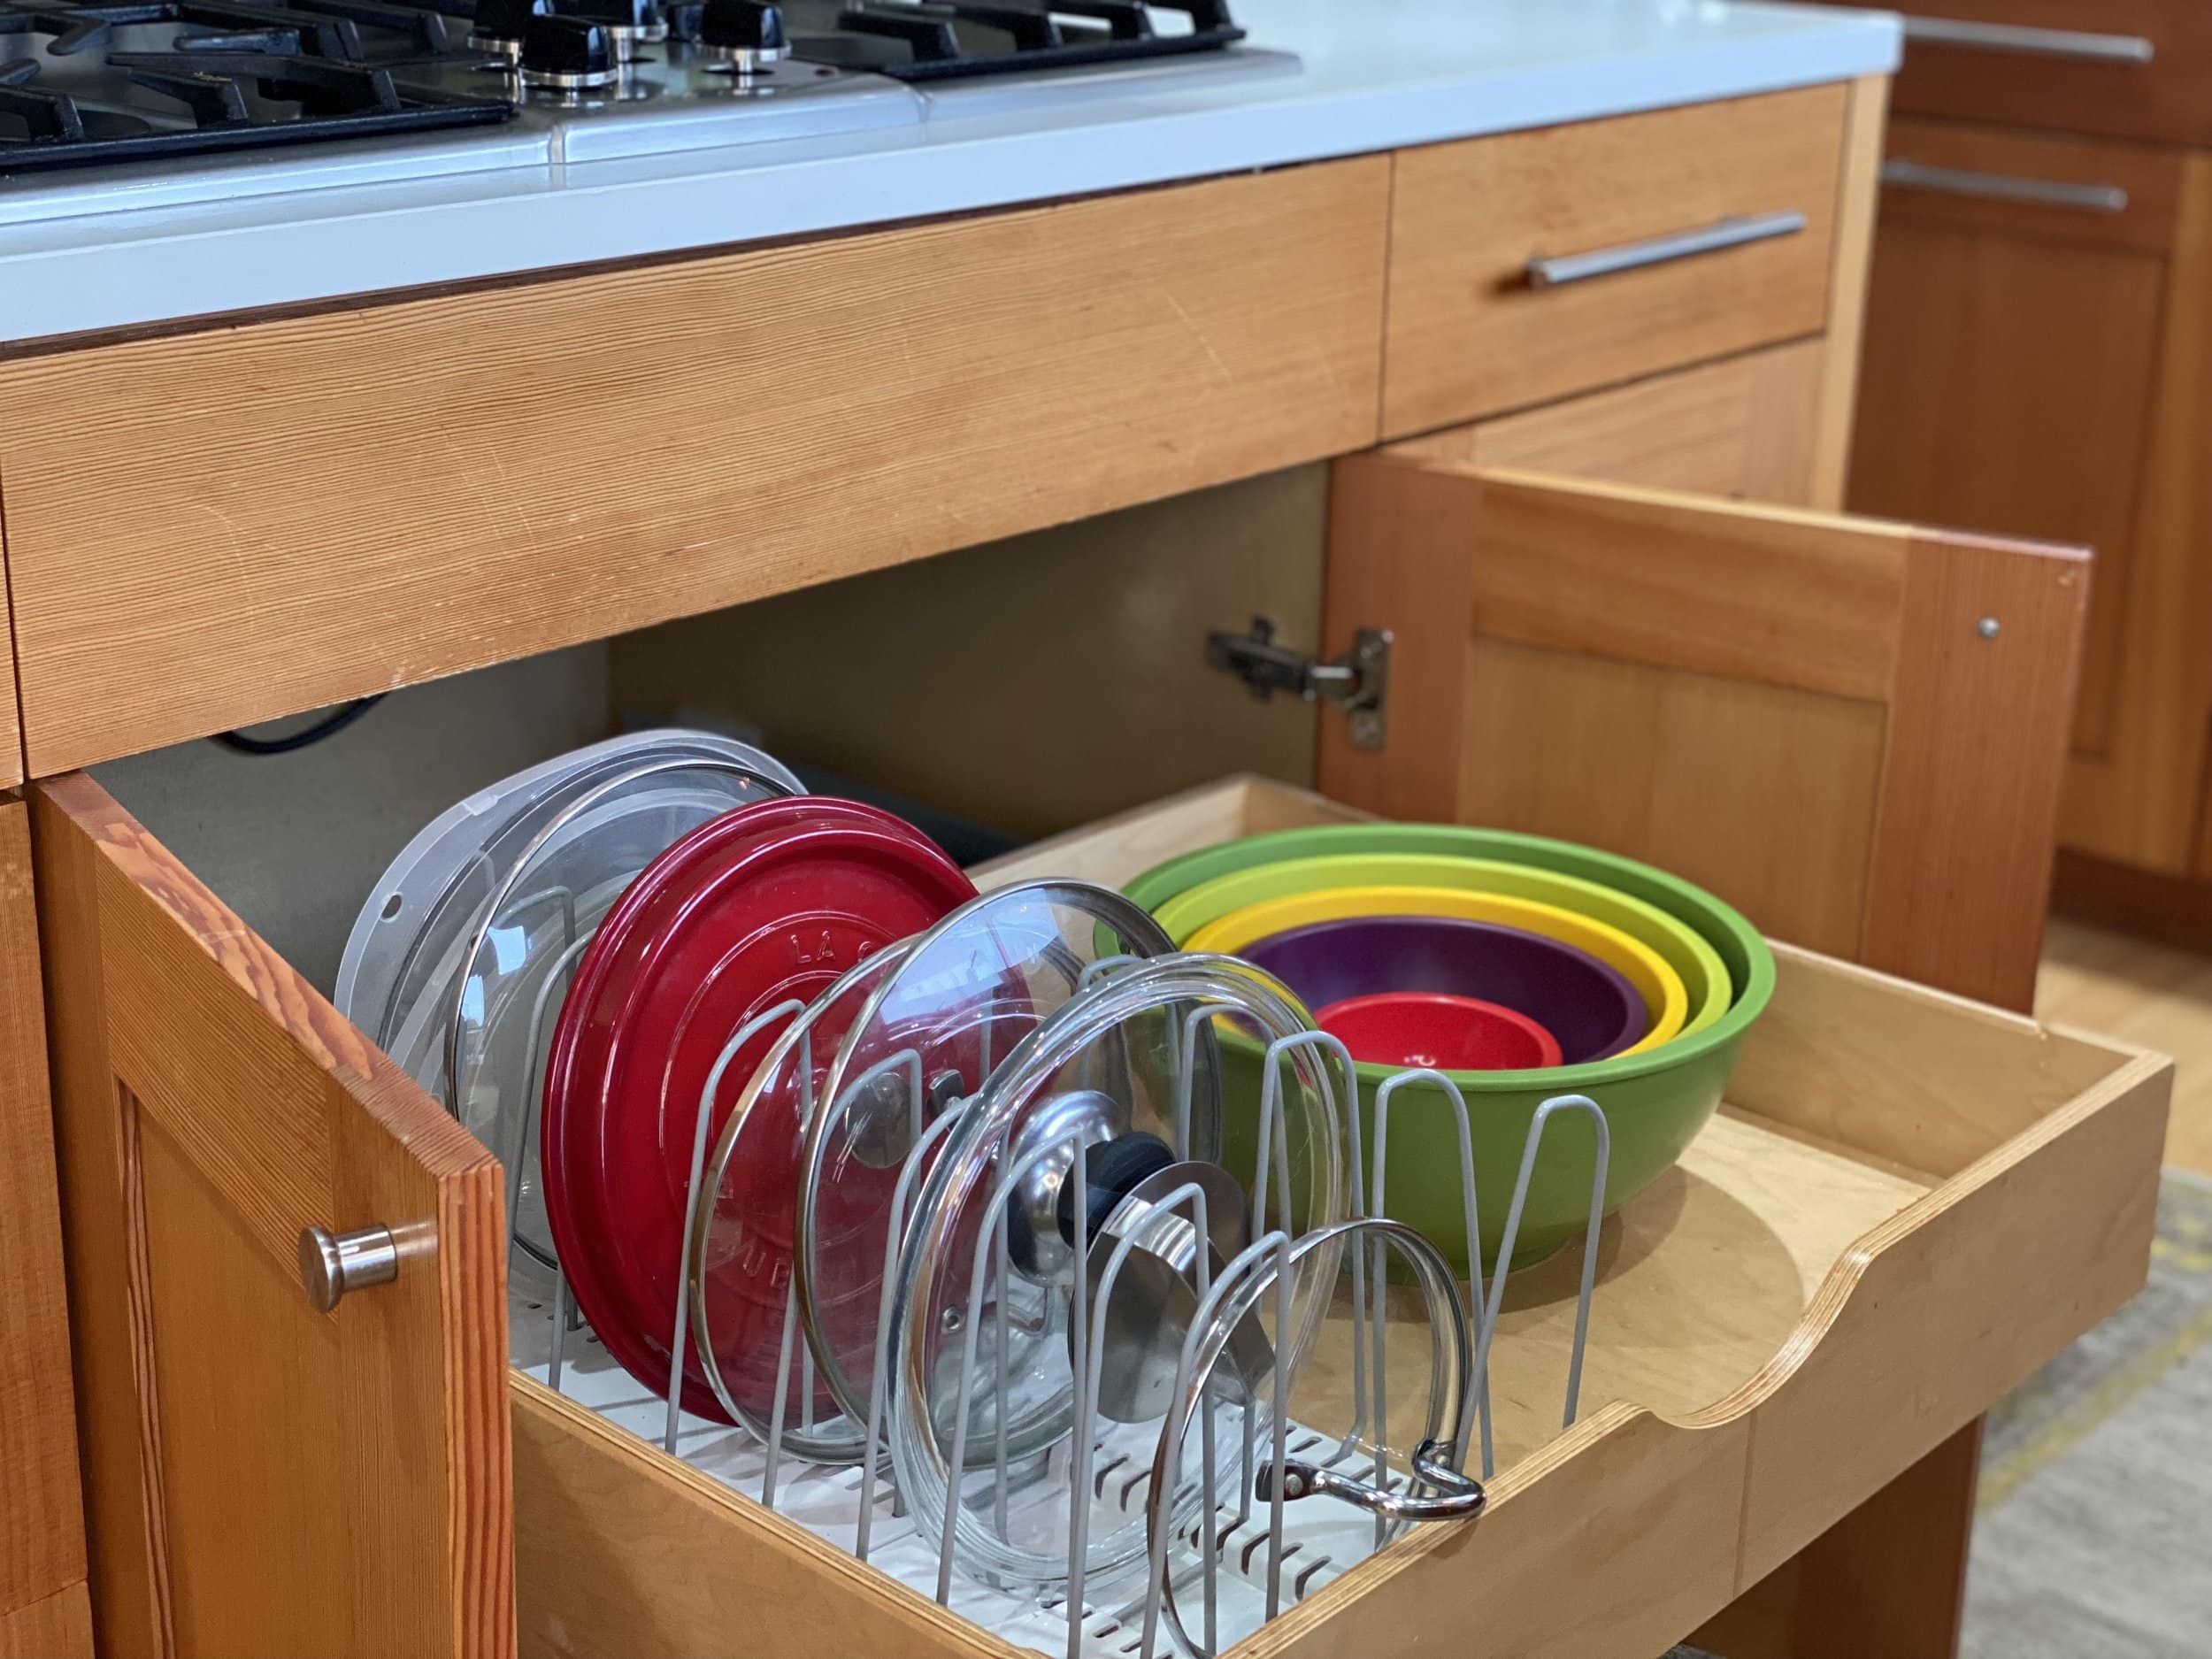
Lids are the messy and ungainly step-children in the extremely useful and often-used pots & pans category. Lids make it challenging to nest pots effectively and they do not have a convenient shape for stacking either. They tend to get jumbled up and there always seem to be duplicates lurking around. So it is an easy and extremely satisfying win to separate your lids from their step-parents. If you think about it, lids get way less action than pots and pans – they are used about half the time when cooking. So pull them out and invest in a lid-holder that can sit in a drawer, go over a cabinet door or pull out of a cabinet shelf. The pots and pans should take priority in the space near your stovetop but the lids do not have to live in that same space. They can go somewhere less convenient and thanks to the lid-holder they will be organized, low-profile and easy to identify.
Taming lids is such an easy win, it takes very little time and investment. You will be amazed at how much more pleasant it is to cook when you are not digging through a sea of lids to get to the pan you need!
Pantry Neighborhoods
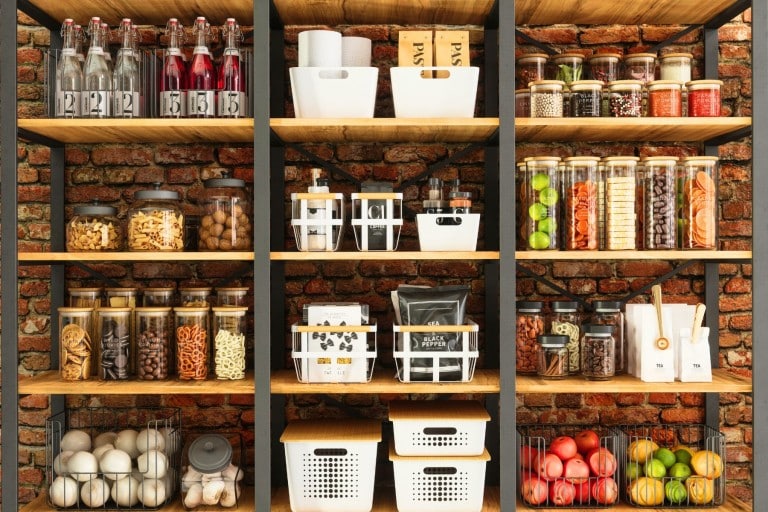
Pantries generally house the dry foods needed for eating and cooking. There are the foods that are ready to eat like chips, cereal and nuts, foods that need to be prepared like pasta, rice and other grains and items you use during the cooking process. If you have a walk-in pantry it’s easier to keep organized if you separate these categories into zones that serve as little neighborhoods; making things easier to find and grab quickly. If your kitchen doesn’t have a big walk-in pantry you can place your neighborhoods closer to the activity-hubs where they will be used. Below are recommendations for how to segment your neighborhoods
Breakfast: Cereals, including hot options like oatmeal as well as pancake mixes. If you have kids make sure your Breakfast Neighborhood is accessible on a lower shelf or cabinet so small people can help themselves.
Snacks: This neighborhood is usually the equivalent of a large subdivision and includes chips, crackers, cookies, nuts, popcorn or any other snack that comes in a bag. I recommend keeping single-serving snacks like bars in a separate Grab & Go station nearest the exit (see below for more on that topic.) Big bags can get messy and it’s sometime hard to recognize when it’s time to replenish a certain item; large open bins can be really helpful to keep everything accessible and visible.
Canned Goods: Anything canned, obviously. Shelf risers are helpful for visibility – this neighborhood should have the density of an apartment building. I like to house canned categories left-to-right and put ‘backstock’ on the higher risers, that makes it easy to tell when you are running low and need to replenish.
Pasta & Grains: Another example where bins are useful. If your kitchen doesn’t have a big pantry I’ve seen lots of success with pasta and rice living in a drawer or cabinet near the stovetop – no traveling needed when you are cooking.
Baking: Flours, sugars, cornmeal, baking powder and soda, corn starch – all of these ingredients should comprise your Baking Neighborhood. Baking commodities are my favorite target for decanting – unless you are baking bread, cookies or cakes multiple times a week you won’t go through your supply fast enough for decanting to be a pain in the ass. And it does look so much nicer and is easier to interact with when it’s in canisters with scoops. Just make sure you label since a lot of those baking ingredients are similar colors & textures!
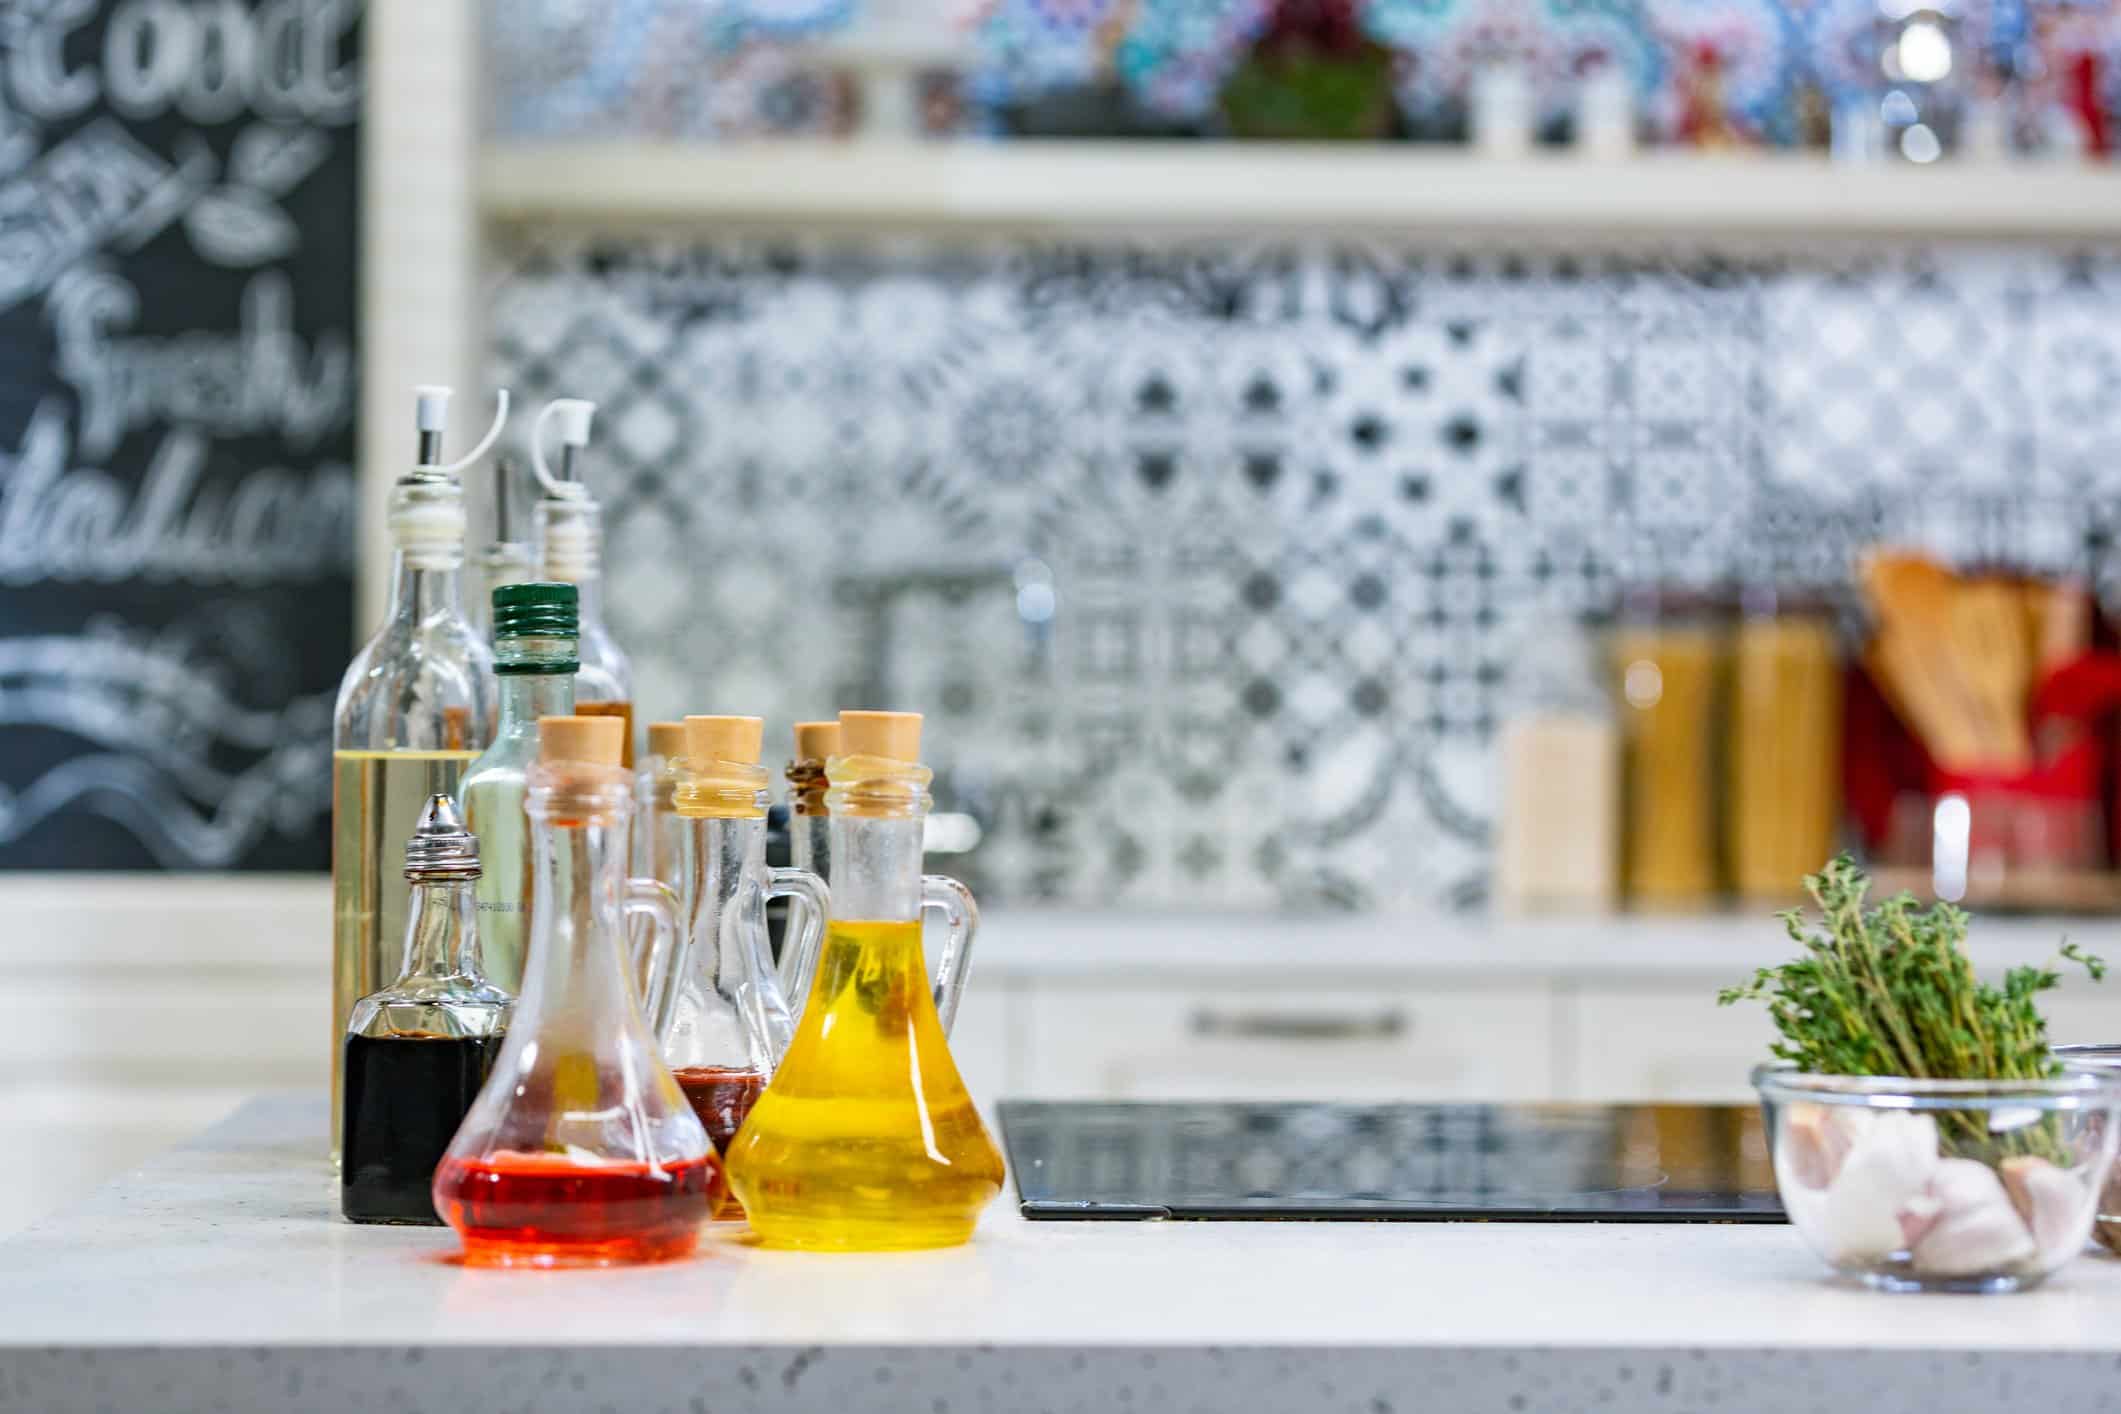
Cooking: I like setting up this neighborhood with turntables, like a row of little cul-de-sacs. Oils in one, vinegars in another and miscellaneous sauces (Worcestershire Sauce, soy sauce, fish sauce, chili sauce, hot sauce, etc.) in a third. This may sound weird but when you have your oils and vinegars grouped together it can sometimes get your creative cooking juices flowing thinking about different possible flavor combinations. Like pasta/rice, the Cooking Neighborhood should live near the stovetop if possible, within reach when you are sautéing, braising or frying.
Grab & Go Stations
As mentioned previously the kitchen is likely the heart of your home with family members stopping in and passing through multiple times a day. In most homes the kitchen is placed close to the garage so as to minimize travel with groceries in hand. Because of this dynamic the kitchen is often the last room people pass through when they are leaving the home as well as the first room they go to upon arrival. There are a few categories that are helpful to have handy near the entrance/exit of the kitchen – they might not all be relevant for your family but my bet is you could likely come up with a different relevant category that would apply for you. Here are 3 that I use often with clients:
Single Serving Snacks: Great to have handy when folks (kids especially) are coming and going to and from various activities. If the snacks that would go into a backpack or sports bag are near the exit they are easy to grab in the chaotic moments as you are trying to get out the door.
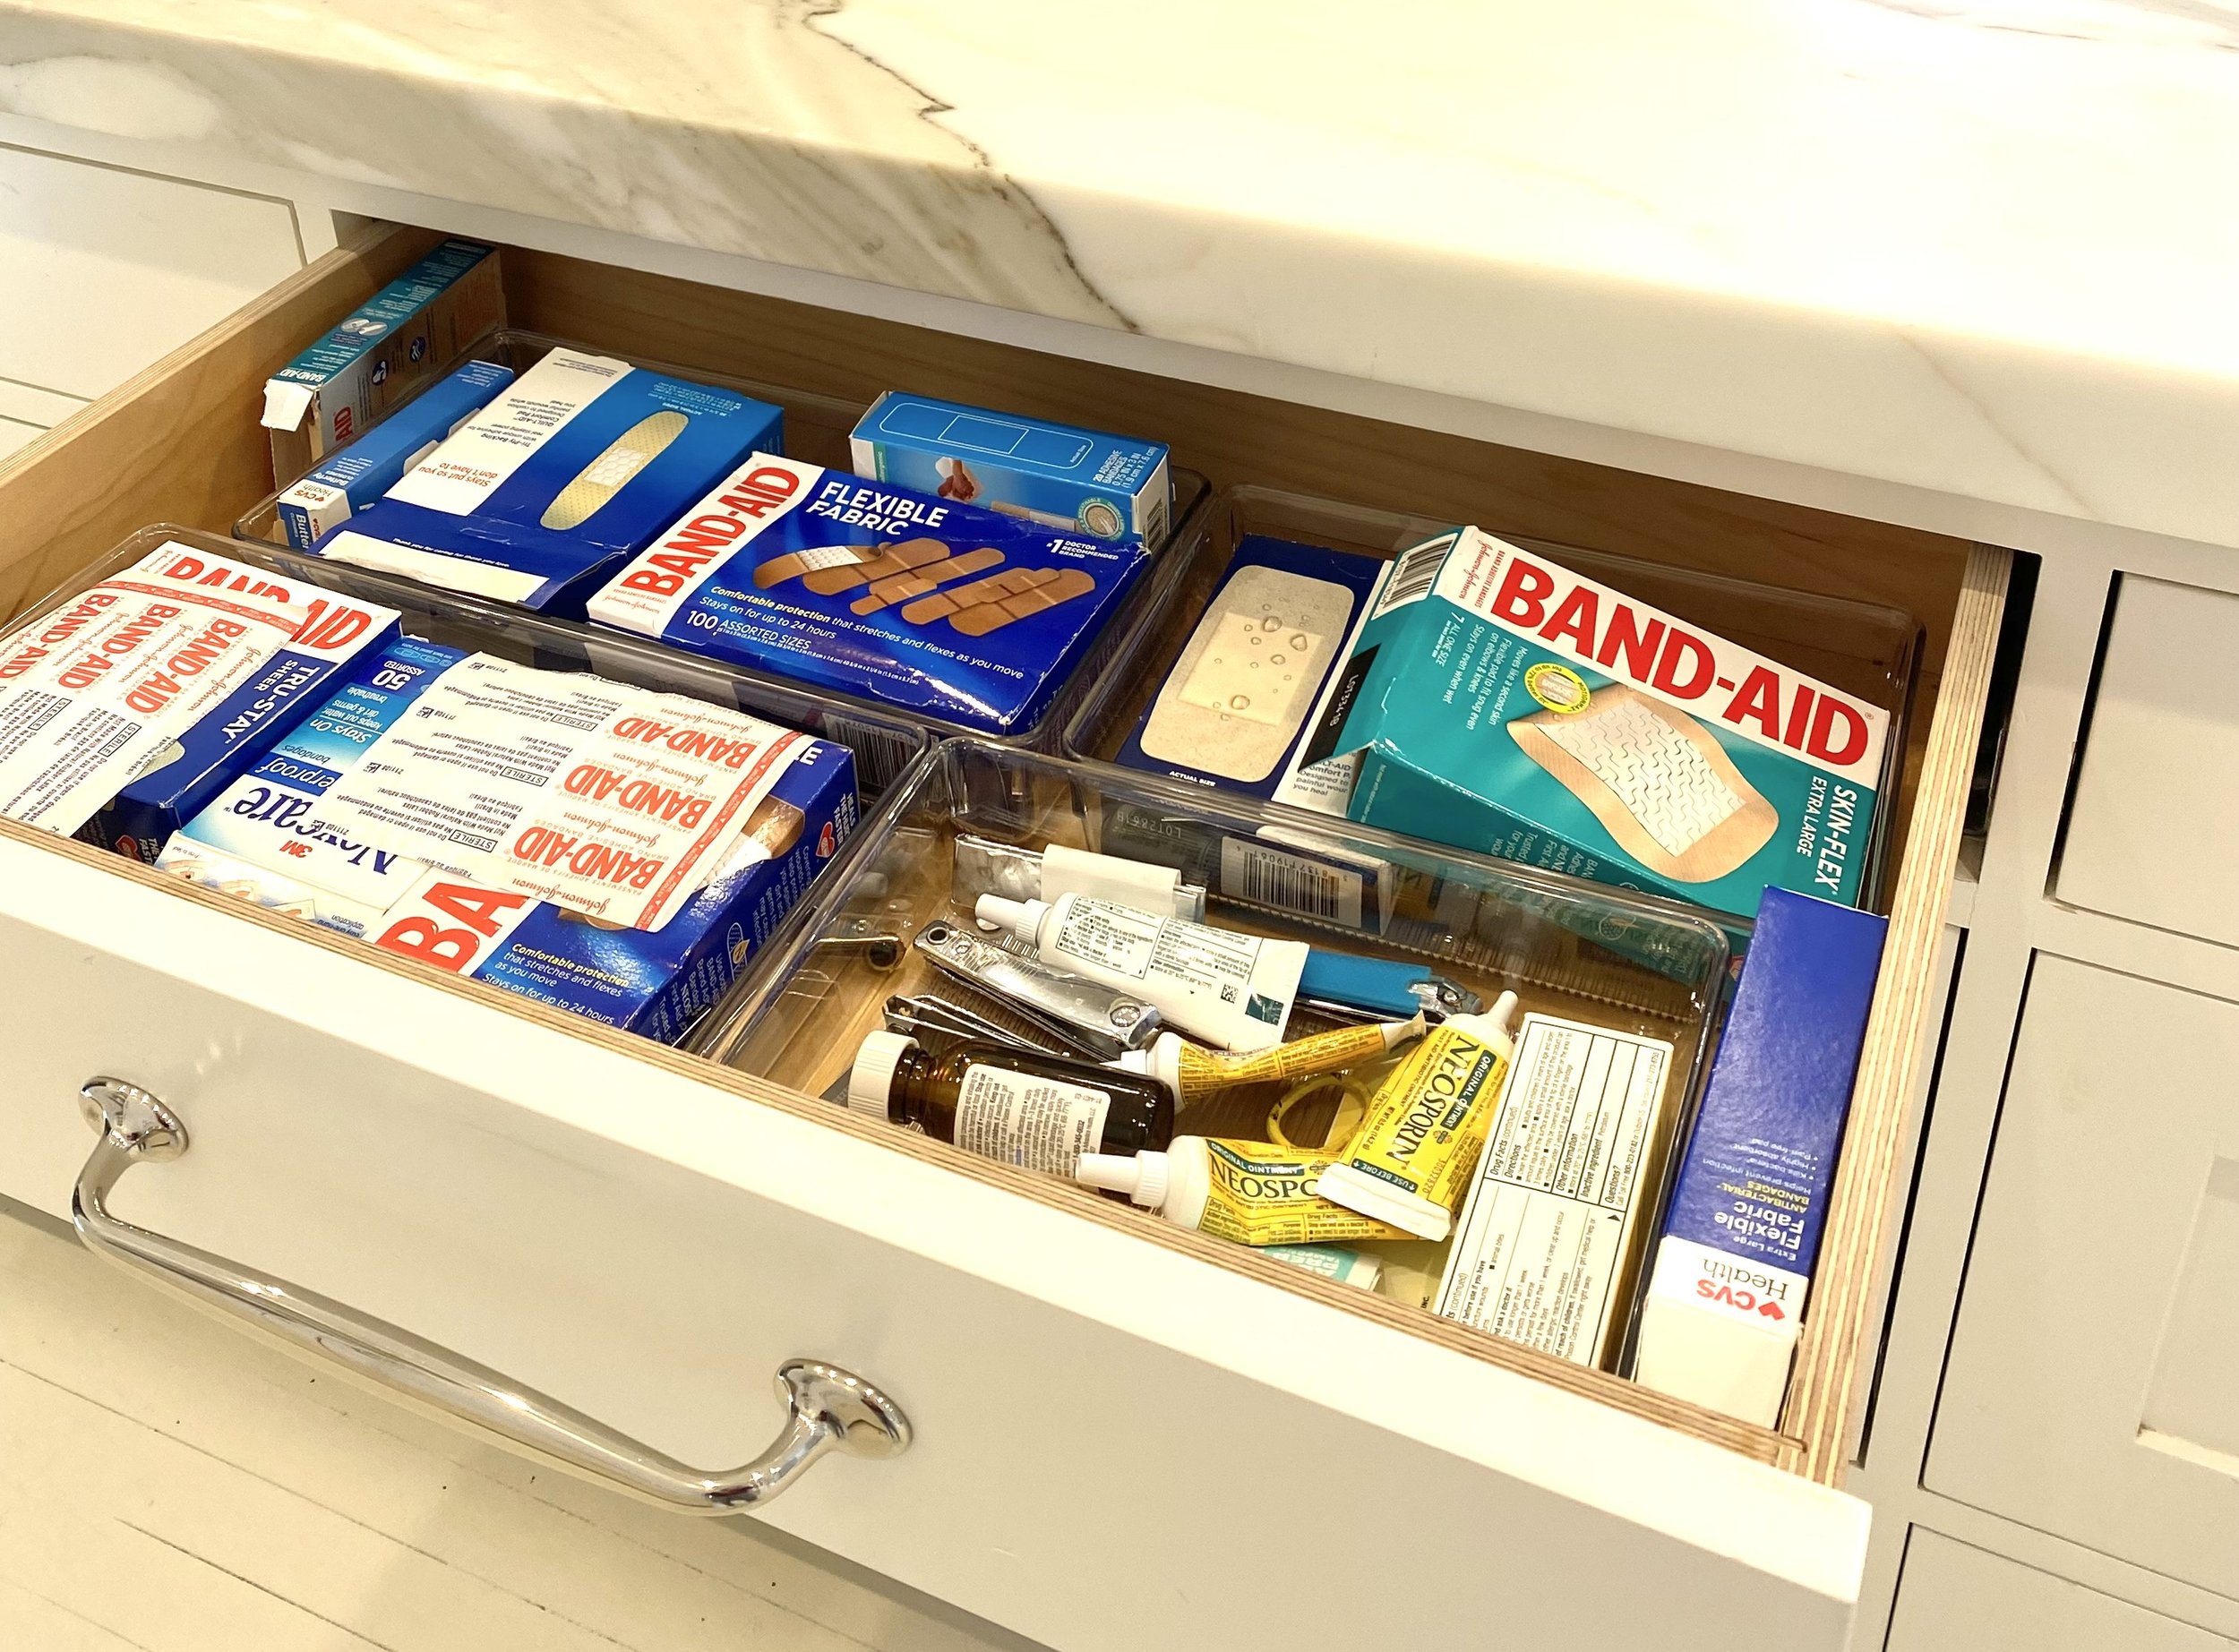
Band Aids: If you have active kids (or adults prone to knife slippage) a first-aid supply is a smart thing to keep handy in the kitchen. When someone comes running in with a skinned knee or splinter it’s convenient to just pull open a drawer and have everything you need for a minor surgery. This idea occurred to me after I smashed a finger working in the yard during the pandemic and with blood gushing in the kitchen sink was pleading with my youngest to go get the Band Aids from my bathroom. She went running to comply and promptly came back empty-handed because ‘Dad’s in there taking a shower, Mom!’ I did finally get a Band Aid (plus 7 stitches) but the moral of the story was First Aid in the kitchen is a good idea.
Sunscreen: Talk about a Grab and Go item – how many times have you yelled ‘Don’t forget sunscreen!’ as someone was running out the door. If something is important and you want people to use it, put it in a prime spot on a busy thoroughfare. A drawer full of sunscreen products is also a signal to your kids of your priorities around sun safety.
As a busy Spring approaches both inside and outside your home it’s a good time to enhance the systems in your family’s hub. This is not an exhaustive list for a Spring Cleaning overhaul but a focus on these four strategies will take your kitchen to the next level of function.





Method Seattle Comment Policy
We welcome relevant and respectful comments. Off-topic comments may be removed.
One Comment