Method For: Digitizing Memories
As an Amazon Associate and member of other affiliate programs, I earn from qualifying purchases.
This past week I was working with a client who wanted to get the closets in 3 of her bedrooms under control. We had a lot of fun going through and purging, getting rid of most of what she wasn’t using and reorganizing what was left. The end result was what it usually is; cathartic, uplifting, energizing. There was, however, one thing that surfaced during the project that we didn’t tackle. Her pictures. In one of the closets was a 3 drawer dresser, each of the 3 drawers brimming with print photos. We also unearthed a big cardboard box filled with developed pictures still in their paper envelopes, sheets of school pictures, plastic sleeves of negatives, you get the picture. It was a lifetime of memories hiding away, too overwhelming to deal with. I assured her that the state of her photos is reflective of so many people. Sure there are some whose print photos are all in albums because they got into scrapbooking or they simply liked looking at the pictures enough to get them into book form. But the majority of people I know whose kids were born prior to 2005 are in the same boat as my client, with printed pictures of their high school and college years, their twenties and thirties full of weddings and babies and maybe even pictures of their own childhood that they’ve inherited from their parents. At some point the accumulation becomes overwhelming and thus is banished to closets, drawers, boxes and bins. I don’t know anyone who doesn’t have fun looking at old photos of their own life, double the pleasure if you are looking at them with someone who shares the memories. After leaving my client’s house I started thinking about how to make the overwhelming project of getting her life’s memories digitized more digestible and less overwhelming, the inspiration for this weeks’ blog!
If you are ready to take control and organize your family’s memories I’ve broken down the process into bite-size pieces. If you are not on a deadline (if you are there is always outsourcing!) then take your time, we are going for progress not perfection here.
What you will need for this project:
Boxes/Bins: You can use what you already have, these will be used for sorting. Shoe Boxes or plastic bins work great, you don’t need to purchase boxes if you’ve got some lying around
Post-It Notes, Sharpie and Rubber Bands: Also for sorting
Step 1: Gather
The first thing you need to do is get all of your photos into one room/space. This may be a fairly easy step if you’ve been stashing them in one place all along. But many folks have pictures scattered in many areas of their home – go through your closets, garage and storage spaces. I recommend including any pictures in frames that you come across that aren’t currently on display in the house. Bring anything you find to your Home Base. Be prepared to feel overwhelmed at this point as you note the sheer volume of photos. Take a deep breath, you won’t be dealing with everything all at once – I promise!
step 2: edit
Okay, this is where we take a moment to break the behemoth up into manageable chunks. Select a portion of your pile of pictures. It could be one box, one bag or one handful of pictures. Start small, it’s okay. Go through the pile and remove any pictures that fit the following criteria:
-
Low quality – Blurry, bad exposure, unflattering – ditch them
-
Duplicate – Back in the day I used to get doubles of all of my prints, ditch actual duplicates as well as near-duplicates. Just pick the best one
-
People You Don’t Know – This became relevant for me when editing my pictures from college. I took tons of pictures of people that I do not remember when under the influence – don’t need to save those!
Editing these pics out now will save you either time or money later so be a bit ruthless. I promise when you are done with the project you will not remember or regret the editing decisions you are making now. The edits can go in the trash, your hopefully-much-smaller pile can be set aside in one of your boxes or bins. You can also ditch the negatives, no need to keep them as you will get just-as-high quality by scanning the photo itself.
At this point you can either move on to Step 3 with your now-reduced First Batch OR you can rinse and repeat Step 2 with another box/bag/handful from the big pile.
step 3: sort
Post-It Notes and Sharpies ready – now it’s time to sort your photos! My recommendation is to take a chronological approach. You don’t need to be exact for this part and you can go to different levels of granularity depending on how much information you have. Use clues to help you determine when a photo was taken, there are several kids to help you sleuth:
-
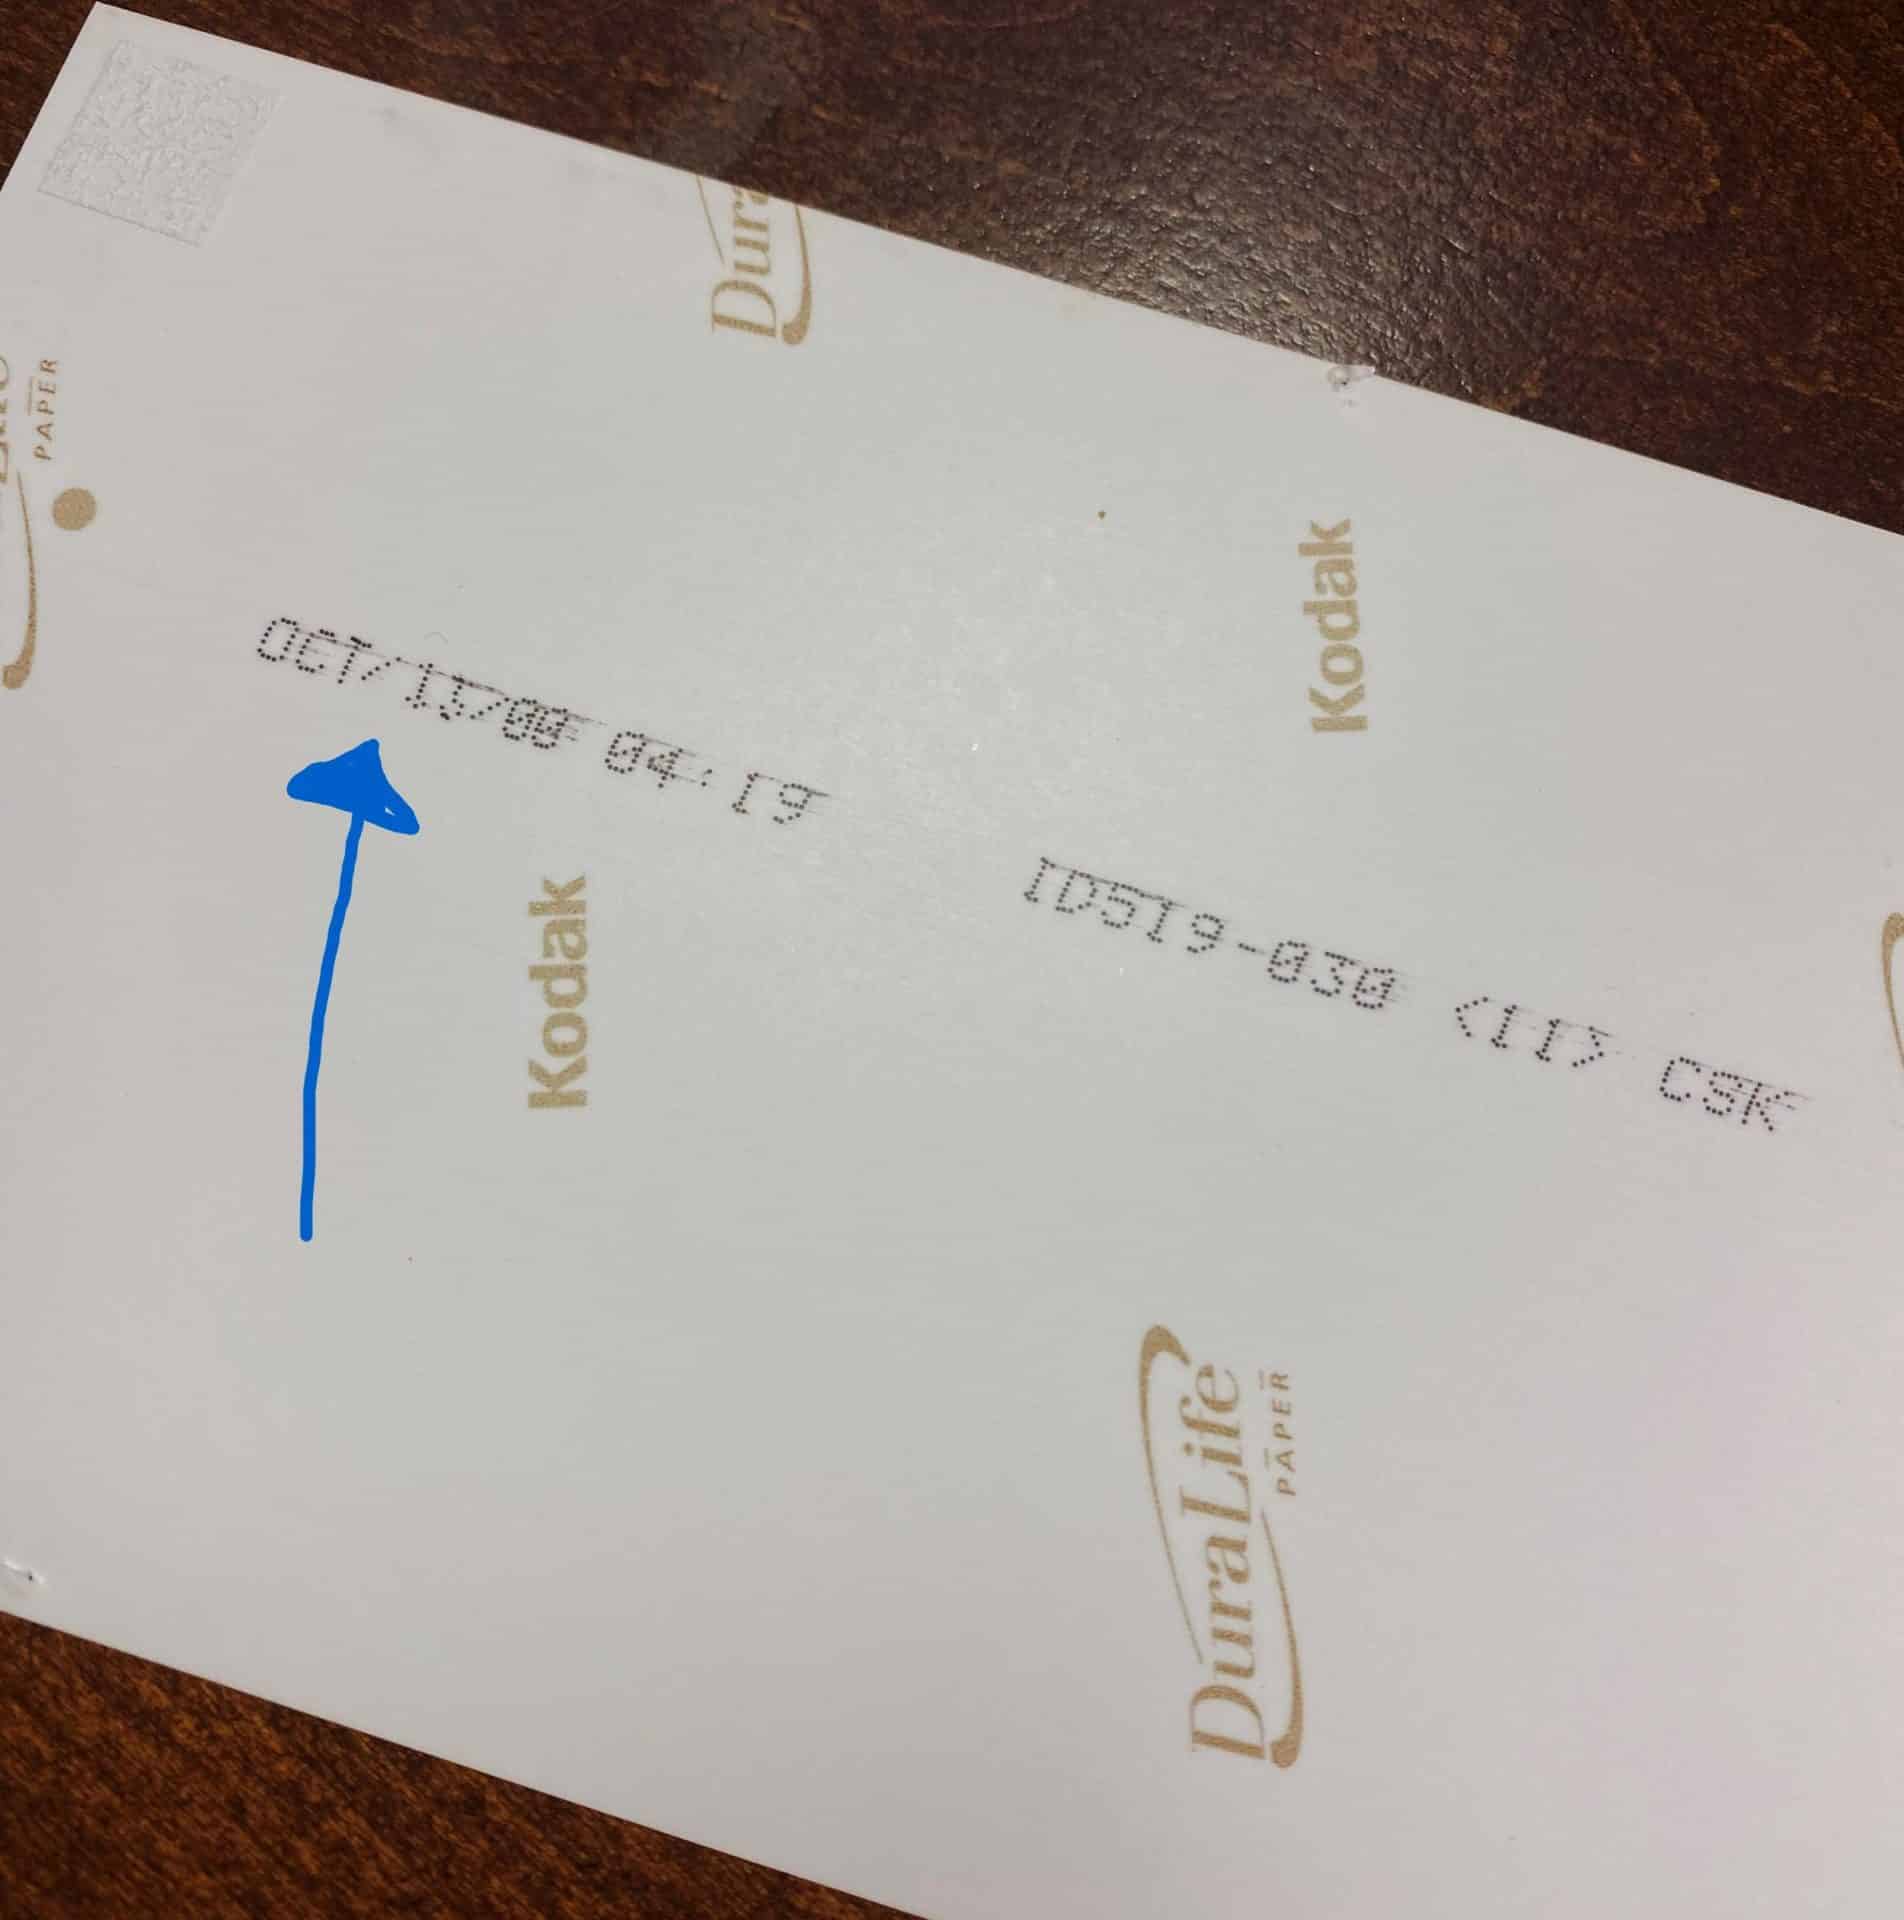
Some photo developers stamped the backs of photos with a date. A lot of them didn’t, but it’s worth checking – sometimes it’s embedded in a group of seemingly-random numbers:
-
Use milestone events pictured to help you remember the date. Surprise Anniversary Party for Mom and Dad’s 25th? They were married in 1964 in August so that would make this stack from… August 1989! Elementary, Watson!
-
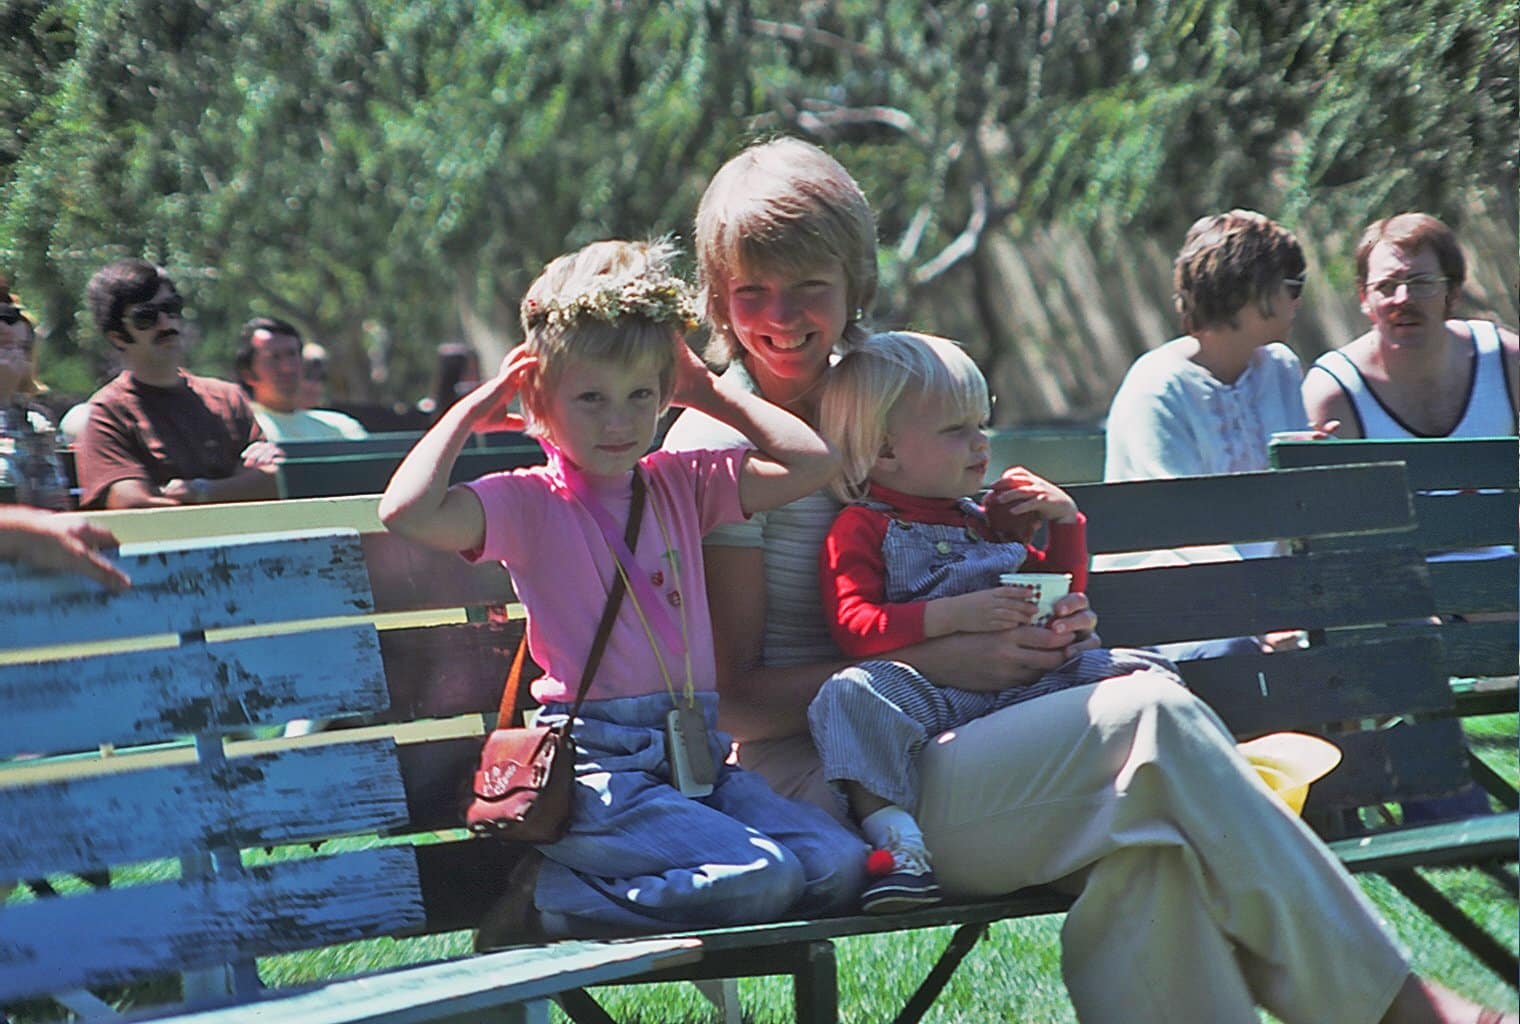
Use kids’ faces as a benchmark. If you find a picture with kids in it that you know was taken a certain date, use it to benchmark other photos with the same kid in them. Does the kid look older? Younger? This is an imperfect science but you do get pretty good at it after you’ve been through a good amount of photos. In organizing my own family photos I used the length of my hair as a benchmark. I cut it myself when I was 5 and it looked awful. It took a year to grow it back out but the short boy-haircut in a photo tells me the year is 1975!
Another note, you don’t need have a consistent approach with all of your photos. For example, you may have more recent pictures that are easy to date because they have your own kids in them, you remember the events, the backs are stamped, etc. For those you may choose to sort by Year/Month. But then you have another batch that is older, maybe from your childhood. These are harder to pinpoint the accuracy down to the month level so you sort into Year stacks only. The point is, you don’t need to get down to the same level of accuracy for everything, just get as close as you can and don’t spend too much effort sleuthing beyond the clues noted above.
Once you have small batches sorted by date use your post-its and sharpie to label them and rubber bands to section them off. The key is to make it clear for whoever scans these photos which ones go together, it will make it easy to preserve all of the organization work you’ve done once the photos are digitized.
So now that this batch is edited, sorted and labeled you to are ready to move on to the next batch. Watch over the weeks as your humongous pile gets smaller and more organized – you are almost to the finish line!
step 4: SCAN
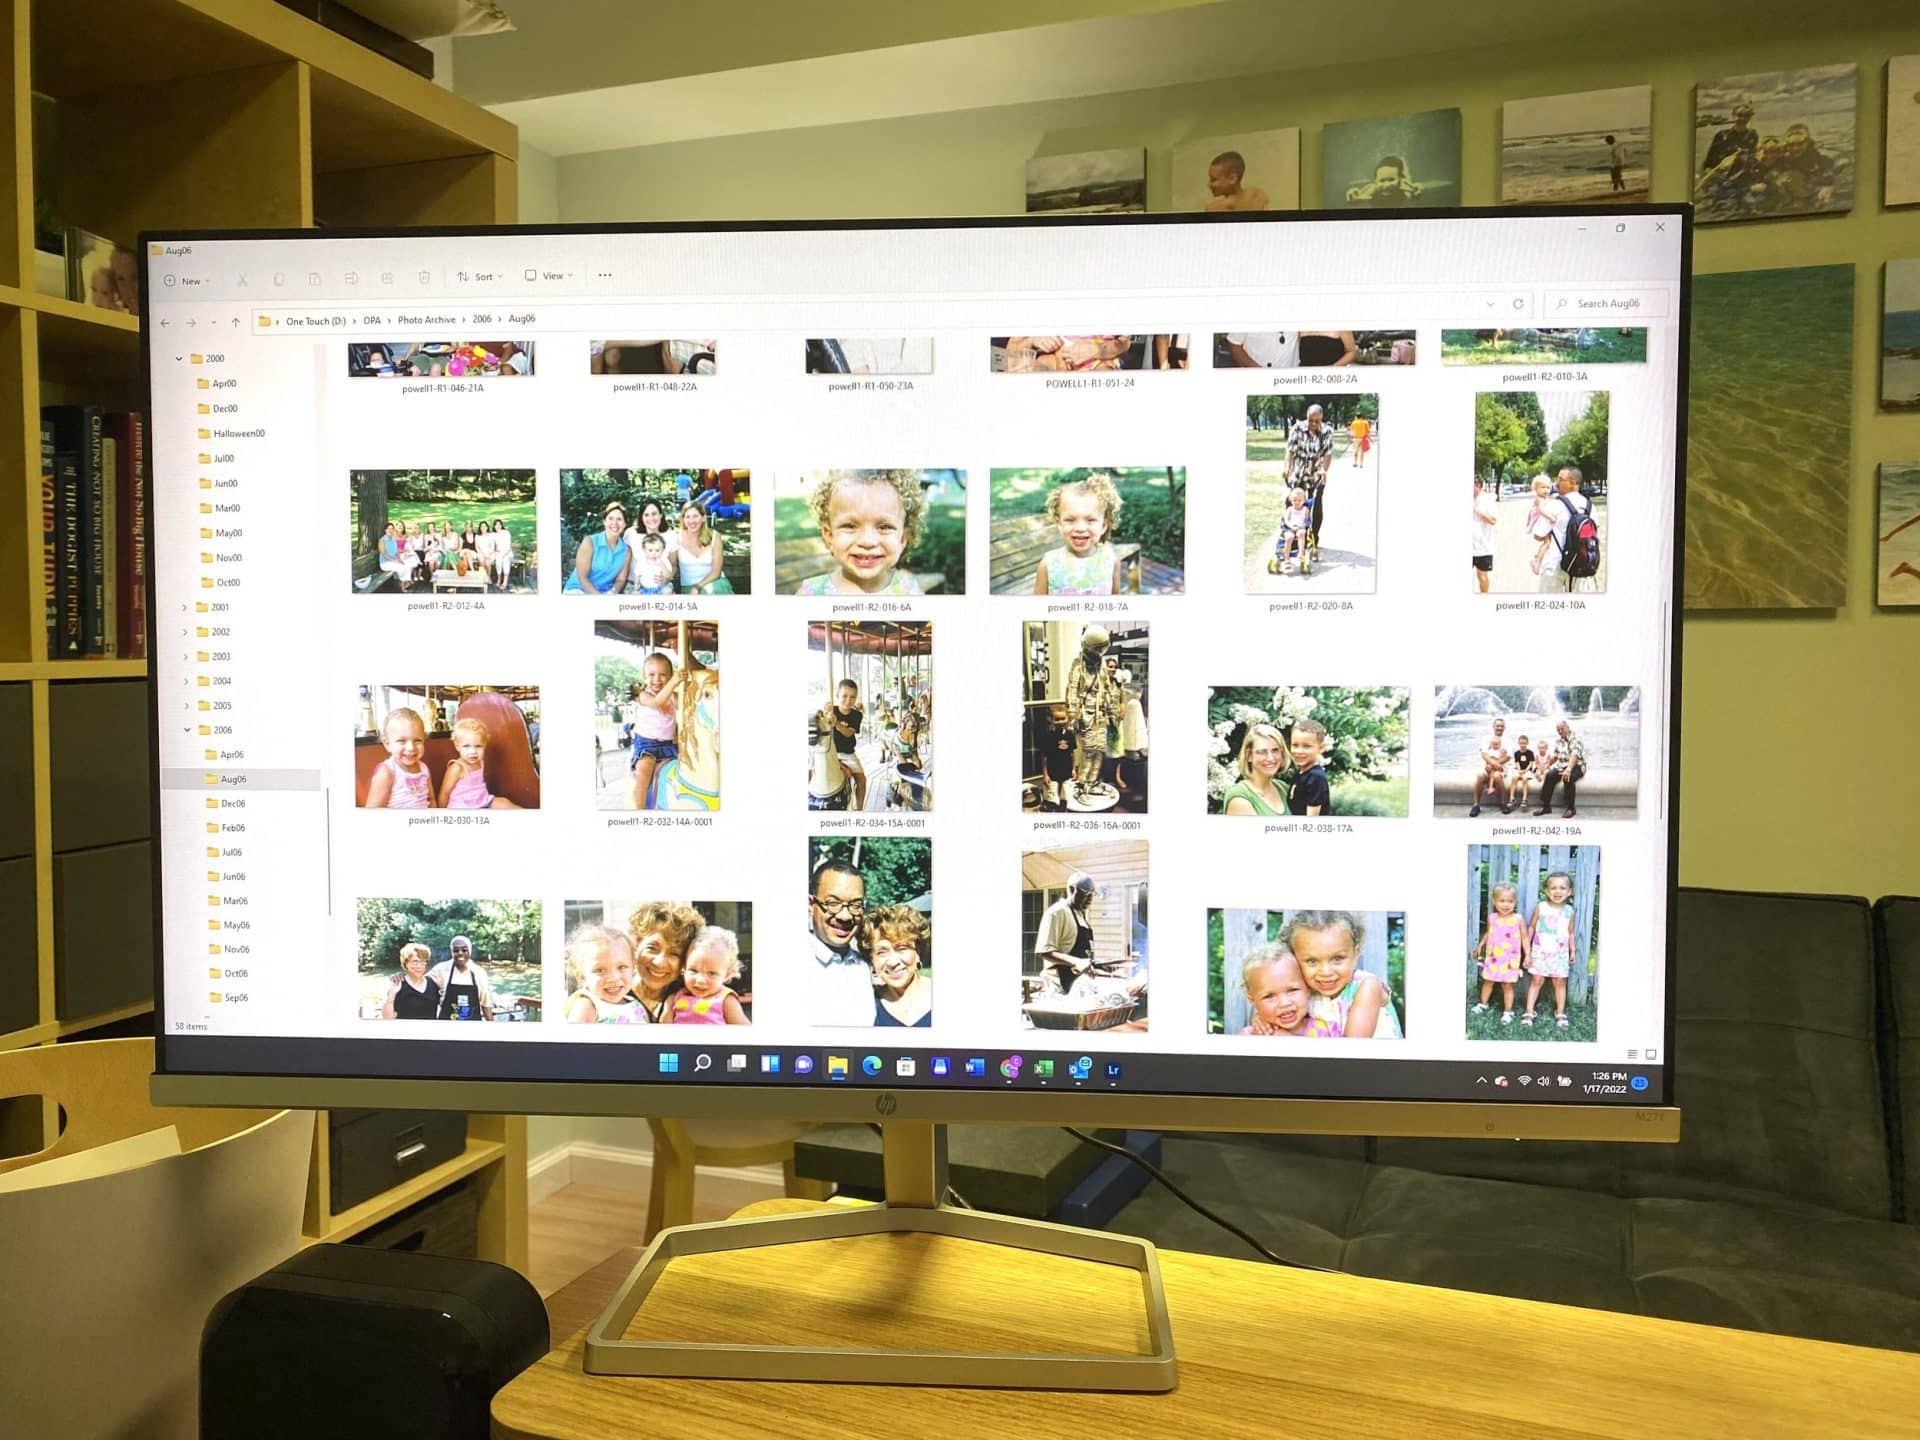
Wahoo! Now that your pictures are edited and sorted you are ready to scan so you can view your photos on your computer, laptop, tablet or phone and get them backed up to the cloud where they will be safe for generations to come!
Scanning your photos is not difficult to do and you have several approaches available for this last step:
-
Scan yourself using a flatbed scanner that most home printers come equipped with. You can take the same small-batch approach to scanning, doing a little at a time and filing your photos in dated folders. Biggest Pro for this approach is that it’s free, but it will take a long time to scan everything as you can only scan one photo at a time.
-
Scan yourself using a high-speed scanner especially for photos. This is the one I use for my Photo Organizing business from Epson, it’s great and you can really rip through your pictures. It also helps with naming your files according to date and category which is really helpful once they are digitized. It is an investment and once you are done with this mammoth project it’s unlikely that you would have further use for it since our photo-taking is all digital now. If you have a lot of photos (like 1500+) you will still save money buy the scanner and doing it yourself vs. outsourcing.
-
Outsource to a Photo Organizer. This is the most expensive option but will save you the most time and effort. You can either send your photos to a bigger company like LegacyBox or find a small business like mine to help you out. LegacyBox will end up costing you about $.75/photo (depending on what promotion they have running.) I have used them in the past for media other than photographs and they did a nice job but it does take a loooong time to get your photos back – usually 6+ weeks. A smaller business will be faster (my turn time is 2-3weeks as an example) and it will be easier to preserve the organization system you worked hard to put in place. Also, prices tend to be more reasonable with a smaller business that specializes in photos (for instance Method Seattle rate is $.50/photo.)
Just like everything else it all boils down to time and money – so whichever one you want to prioritize is going to drive your decision. No matter who scans your photos I guarantee the excitement you will feel when the project is finished and your precious memories are all safely digitized! Where to store them and back them up is a whole other blog post but for now a big ball of stress is in the rearview and you can start enjoying your memories – Congratulations!!!

